Care of Bridges
Violins, violas and cellos all come from the same family of stringed instruments, the violin family, and whilst they vary quite a lot in size, they share many of their basic design features.
Their outlines are all similar, they all have end-pins, a tailpiece, fingerboard and the curly bit at the top where the tuning pegs and strings go.
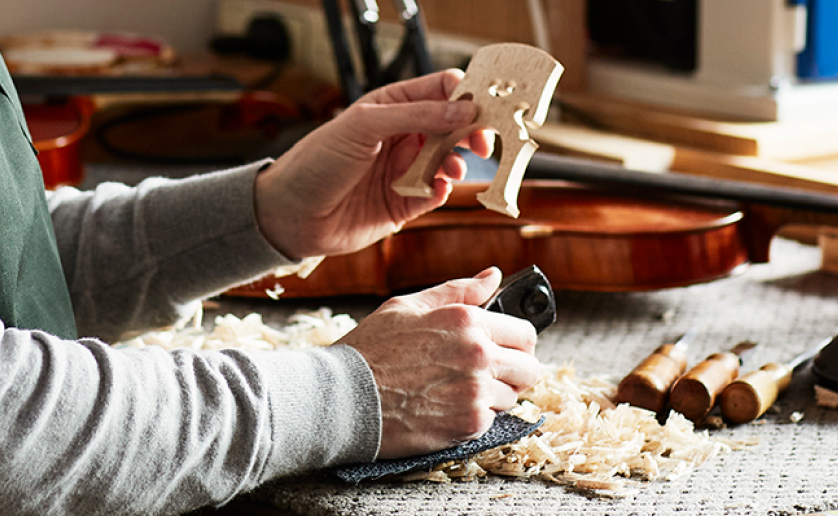
The other component they share is the bridge. The bridges on violins and violas look similar, the cello bridge is taller and somewhat differently shaped, but essentially, they all do the same job.
This infers that they only have one function but in fact bridges have several critical roles which, if they failed to perform, the instrument could quickly become unplayable.

A Bridge’s Function
String Height
The first and most obvious task the bridge perform is to lift the strings high enough to comfortably clear the fingerboard. Too high and string tension will increase to the point where your fingers will hurt, too low and the vibrating string can contact the fingerboard and cause a buzz. The top of the bridge must also have grooves to separate the strings from each other by a precise amount and be gently curved to allow each string to be played independently, but with enough height to allow the two outside strings to be bowed without the bow contacting the edges of the instrument.
Tone and Projection
The bridge is also the main transmission point for the vibrations created by the strings to be passed to the top plate of the instrument. The top plate is the ‘loudspeaker cone’ of the instrument, it’s the part that amplifies the almost inaudible vibration of the strings to the audible sound we hear.
The vibration of the strings alone would not be enough to excite the top plate into producing this amount of sound. To generate this volume, the bridge has to do more than simply pass on string vibrations, it has to become active and respond to the input from the strings by moving backwards and forwards, horizontally in a side-to-side motion, and in a side-to-side rocking movement.
These movements are so subtle that they can’t really be seen by eye but can be picked up by scientific measuring tools. These represent the main resonant frequencies of the bridge and violin makers strive to cut bridges to activate these resonant frequencies at the optimum performance level for the instrument they are setting-up.
In order to be an active component of the instrument, the finished bridge must hit that sweet-spot of being strong enough to withstand the forces acting on it, yet light and flexible enough to be allowed to move freely in its various resonant frequencies and to act as an efficient filtering device.
Violin bridges are a little over 4mm thick at the base, a little over 1mm at the top. Viola bridges only marginally thicker with cello bridges in a similar proportion. Considering the stresses involved (a violin bridge has to withstand downward pressure of over 28 kg!) it’s amazing that they survive at all. They do bend under load and with string tuning, but if players are vigilant and are willing to engage in occasional rudimentary inspections and maintenance, they can last for many years.
Getting the Most Out of Your Bridge
Keeping in Shape
Custom fitted bridges are expensive to replace and that issue of bridge maintenance can not only help to keep your instrument sounding good but can save you a fortune in replacement bridges over years. This maintenance procedure is easy and simple, it requires a little courage but no special tools, and anyone can do it.
Bridges are wedge shaped, wider at the base, narrow at the top, a sort of tall triangle. The aim is to have the back face (the one facing the tailpiece) at right angles to the top plate, the front face will appear to lean slightly backwards and, if properly fitted, in this position, the feet should fit to the top plate perfectly.
Straightening in Five Steps
To keep your bridge straight, best practice is to check it regularly, once a week is good and certainly after fitting new strings or a major re-tune.
- 1. If you see that your bridge is not quite straight, the first step is to slacken the strings one at a time, following the steps outlined below before slackening the next string.
- 2. Apply some lubricant to the string groove in the form of graphite from a soft pencil (4b or softer is good). While you’ve got the pencil in hand and the string is loose, apply some graphite to the string groove in the top-nut at the end of the fingerboard, this will help to preserve your string windings.
- 3. Refit and tune-up the slackened string before slackening the next string. This will keep enough pressure on the bridge to stop it from falling over.
- 4. Once all four string grooves have been lubricated, check again in which direction the bridge is leaning and gently push the top of the bridge until the back face is once again vertical.
- 5. Complete a final re-tune, check again that the bridge is standing properly upright and you’re done!
If your bridge is too badly bent to stand upright or you’re fearful of trying to move it, don’t hesitate to contact your violin maker for assistance or advice.
